


Hey there! As a supplier of Stackable Stacking Racks, I often get asked about how to add additional shelves to these racks. It's a great way to maximize storage space and make your racks even more versatile. So, in this blog post, I'm gonna walk you through the process step by step.
Why Add Additional Shelves?
Before we dive into the how - to, let's talk about why you might want to add extra shelves to your stackable stacking racks. Maybe you've run out of space on your existing shelves, or you've got new items that need to be stored. Adding more shelves can increase the overall storage capacity of your racks, allowing you to organize and store more stuff in a limited area. It's also a cost - effective solution compared to buying a whole new rack system.
What You'll Need
First things first, you need to gather the necessary tools and materials. Here's a list of what you'll typically need:
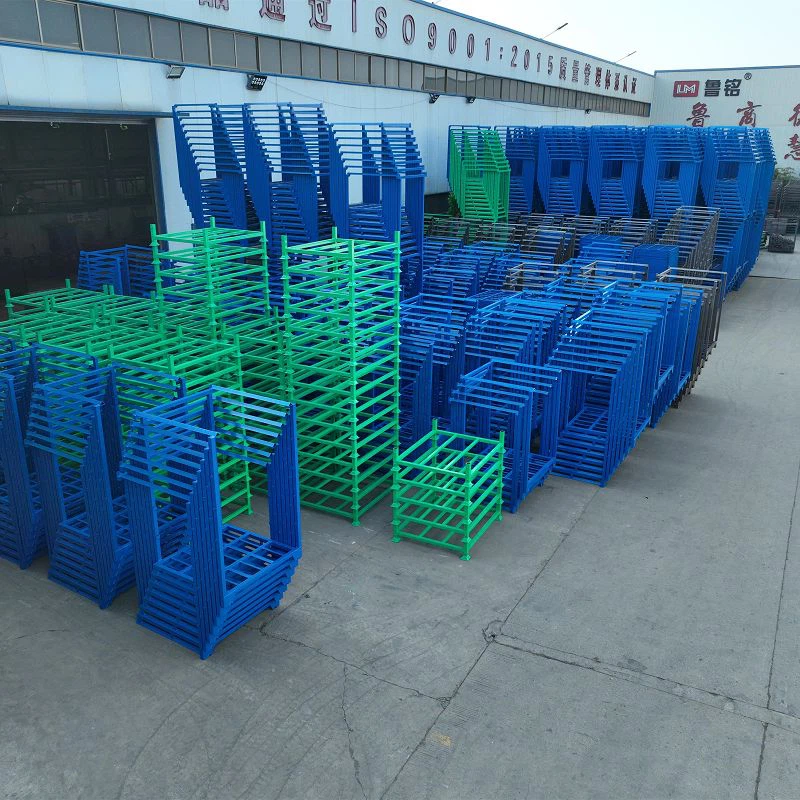

- Additional Shelves: You can get these from us. Check out our Stackable Stacking Racks page to find the right shelves for your racks. Make sure they are compatible with your existing rack system in terms of size and design.
- Tools: A drill, screwdriver, and measuring tape. The drill will be used to make holes if necessary, and the screwdriver is for attaching the shelves to the racks. The measuring tape helps you ensure everything is properly aligned.
Step 1: Measure and Plan
The first step is to measure your existing stackable stacking racks. You need to know the dimensions of the rack, including the height, width, and depth. This will help you determine the size of the additional shelves you need. Also, think about how many shelves you want to add and where you want to place them. You might want to space them evenly to distribute the weight of the items you'll be storing.
Once you have your measurements, mark the spots on the racks where you'll be attaching the new shelves. Use a measuring tape and a pencil to make accurate marks. This will ensure that the shelves are installed straight and level.
Step 2: Prepare the Shelves
If your additional shelves come with pre - drilled holes, great! But if not, you'll need to drill holes in the shelves to match the holes on the racks. Use the drill and a drill bit that's the right size for the screws you'll be using. Make sure to drill the holes straight and at the correct locations based on your markings.
Step 3: Attach the Shelves
Now it's time to attach the shelves to the racks. Align the holes on the shelves with the holes on the racks. Insert the screws through the holes and use the screwdriver to tighten them. Start with one end of the shelf and work your way to the other end, making sure the shelf is firmly attached.
If your rack system has a locking mechanism, engage it to secure the shelves even more. This will prevent the shelves from coming loose over time, especially if you'll be loading heavy items on them.
Step 4: Check for Stability
After attaching all the shelves, give the rack a gentle shake to check for stability. If the shelves wobble or seem loose, go back and tighten the screws. You can also add some additional support brackets if needed. These brackets can be attached to the sides of the rack and the shelves to provide extra stability.
Different Types of Stackable Stacking Racks
There are different types of stackable stacking racks, and the process of adding shelves might vary slightly depending on the type.
Sectional Stackable Racking
Sectional Stackable Racking is a popular type. These racks are made up of sections that can be stacked on top of each other. When adding shelves to sectional stackable racking, you need to make sure the shelves fit within the sections. The attachment process is similar to what we've described above, but you might need to pay more attention to the alignment of the sections.
Metal Stack Rack
Metal Stack Rack is another common type. Metal racks are usually very sturdy, but they can be a bit more difficult to drill into if you need to make holes. Use a high - quality drill bit designed for metal, and take your time to avoid damaging the rack.
Tips and Tricks
- Use a Level: When attaching the shelves, use a level to make sure they are perfectly horizontal. This will prevent items from sliding off the shelves.
- Don't Overload: Make sure you don't overload the shelves. Each shelf has a weight capacity, and exceeding it can cause the shelves to break or the rack to become unstable.
- Label the Shelves: Once you've added the shelves and loaded them with items, label the shelves. This will make it easier to find what you're looking for.
Conclusion
Adding additional shelves to your stackable stacking racks is a great way to increase storage space and make your storage system more efficient. By following these steps and using the right tools and materials, you can easily add shelves to your racks.
If you're interested in purchasing additional shelves or stackable stacking racks, we're here to help. We offer a wide range of high - quality products that are designed to meet your storage needs. Contact us to start a procurement discussion and find the best solution for your business.
References
- General knowledge on stackable stacking racks and shelf installation.


